Share:
Long ago, in the dark ages before Google and StackOverflow, Chuck learned how to program. Those were the times when all you had to go on was the documentation or the source code itself. From humble beginnings as a Jr Full Stack developer, Chuck grew into the developer he is today, building out the tools that empower fellow developers to create amazing products. When he is not forging new tools, you can find him climbing up a mountain or on his bike.
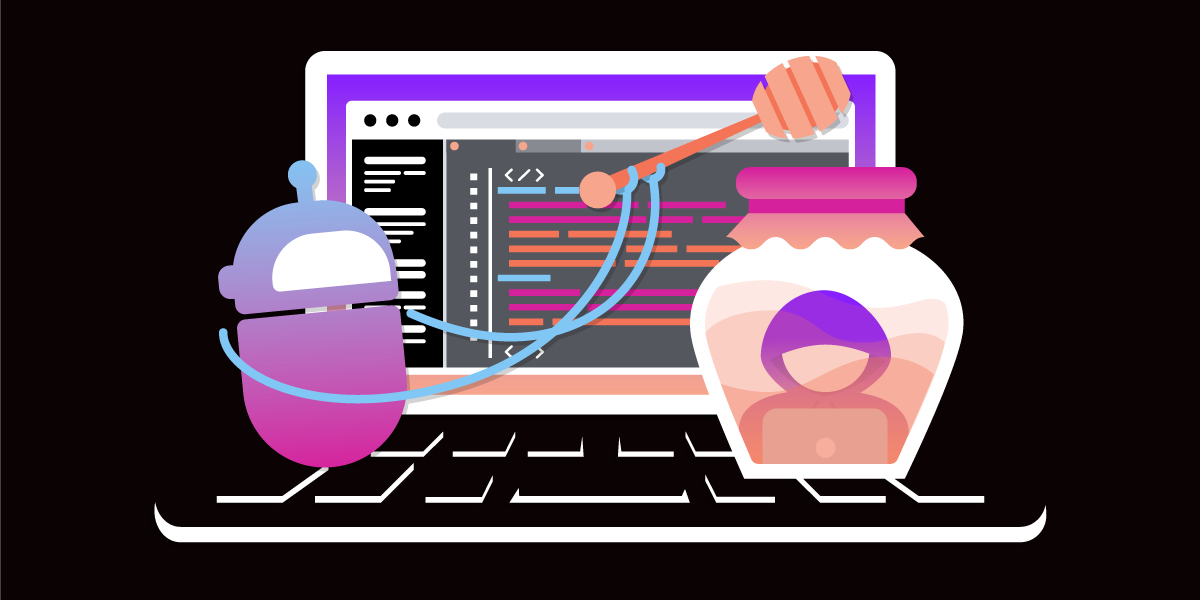
Building a Robocaller Honeypot With Vonage AI Studio - Part 1
Time to read: 8 minutes
Vonage AI Studio is a Low/No code virtual assistant builder that allows developers and non-developers alike to design, create, and deploy Virtual agents that operate with Natural language understanding. It uses your Vonage API account to create customer engagements over voice, SMS, HTTP, and WhatsApp channels.
I spent about 15 minutes making a honeypot for fraudsters. You see, I get a lot of fraud calls because I like messing with them. Recently, however, many calls are just robo-callers asking me to press "2" and immediately disconnect (I'm sure the fraudsters are doing this to mess with me). I had a thought: how can I combat this annoyance? I pulled up Vonage AI studio and got to work. The application requirements are simple:
If a call comes in from a number in my contacts, let the call go through.
If the number is not in my contacts, the caller must press a number before forwarding it to me.
Finally, disconnect the call if the number has high fraud confidence (using Vonage Fraud Defender).
Before you begin, make sure you have the following:
Node.js installed. Node.js is an open-source, cross-platform JavaScript runtime environment.
ngrok - A free account is required. This tool enables developers to expose a local development server to the Internet.
We will integrate the Fraud Defender in the next post. For now, let's tackle the first two requirements. We need a way to check if the number is in our contacts. To accomplish this, we will create a small express server that can be used to confirm the number is known. Begin by going to a command/terminal prompt, creating a working directory, and initializing a Node.js project.
We will handle the requests with Express. Install with
Create an index.js file, instantiate express, and listen to the server to port 3000. You must stick with the same port because you have set your ngrok to expose localhost:3000.
import Express from 'express';
import path from 'path';

const app = new Express();
const port = process.env.PORT || 3000;

const catchAsync = (fn) => (req, res, next) => {
  fn(req, res, next).catch(next);
};

app.use(Express.json());
For this demo, we are just going to hard code in some contacts like so:
const contactNumbers = [
    {phone: '19999999991', record: false},
    {phone: '19999999992', record: false},
];Now add the endpoint to compare the number to the contact list:
app.post('/contact', catchAsync(async (req, res) => {
  const { caller } = req.body;
  const contact = contactNumbers.find({phone} => caller);

  if (contact) {
    res.status(200).json(contact);
    return

  }

  res.status(404).json({record: true});
}));
And complete the rest of the Express setup:
/**
 * Setup a 404 handler
 */
app.all('*', (req, res) => {
  res.status(404).json({
    status: 404,
    title: 'Not Found',
  });
});

/**
 * Setup an error handler
 */
app.use((err, req, res, next) => {
  res.status(500).json({
    status: 500,
    title: 'Internal Server Error',
    detail: err.message,
  });
});

/**
 * Start Express
 */
app.listen(port, () => {
  log(`app listening on port ${port}`);
});
Enter the following at your command/terminal prompt to run the application:
node index.jsIt's just a vanilla Express app with our endpoint to check against our contact list. You might have noticed that we return "record" in the response, which will be used to have the agent start recording the call.
ngrok is a cross-platform application that enables developers to expose a local development server to the Internet with minimal effort. We'll be using it to expose our service to the Internet. Once you have ngrok setup and are logged in (again, the free account is acceptable), then run the following command:
ngrok http 3000After ngrok runs, it will give you a Forwarding URL that we'll use as the base for our Webhooks later in the article. Mine looks like the following:
 ngrok running successfully in the command line
First, let's set up the application. You can find the AI dashboard from the left-hand navigation bar in the Dashboard.
 Dashboard left hand navigation.
Once inside, we are going to create a new agent. Agents are the main driver for AI Studio.
 Create agent from the Dashboard
Select a "Telephony" type to unlock the phone call event.
 Agent creation: Agent type
Give the agent a name, choose which TTS voice you like, and pick a timezone.
 Agent creation: Details form
We will build our Honeypot from scratch, so make sure you select that template.
 Agent creation: Template screen
Next, choose the event that is going to trigger our agent. For our Honeypot, we are going to pick "inbound call."
 Agent creation: Event screen
Now, the agent contains a starting node. Nodes are actions the agent will follow, which will need parameters to take different paths. Parameters are variables stored with the agent. Each agent has some system-defined parameters defined with the call session, and we need to add two custom parameters: "START_RECORDING" and "PRESS_42".
 Agent builder: parameters
Before we wire up the path the agent will take, let's add all the nodes we are going to need
Let's get our agent to call our express app. We need to add a new Webhook node (located under "Integrations") and set it to POST to the location of the express app. The setup for the node is going to need to make a post request to our express app. Select the "body" tab and fill out the following:
{
  "caller": "$CALLER_PHONE_NUMBER"
} Webhook node: step one
$CALLER_PHONE_NUMBER is a system variable the agent will fill in before posting the request. We can map data from the response into our parameters. Using JSONPath, fill out "$.record" and map it to "$USER.START_RECORDING" like so. Add one more response code for 404, name it "Check Caller," and save and exit.
 Webhook node: step two
Add a new "Collect Input" node. We are going to save the response to "USER.PRESS_42". Prompt the caller to enter 42 using the text-to-speech tab.
 Collect input node step one
Switch response input to DTMF and set Max Digits to 2. Name this node "Challenge caller."
 Collect input node step two
Condition nodes allow the agent to take different paths based on the parameters set. Condition nodes check if a parameter matches a condition. You can have multiple checks for each node, but two are needed for our Honeypot:
The first one is used to verify the caller pressed 42. Add a "Conditions" node and edit. Then click "create condition" in the edit dialog. Set the Parameter to our PRESS_42, Operation to "is equal to," and the value should be 42. Name the condition "Caller pressed 42" and name the node "Check DTMF."
 Condition node: Check 42
Remember the "record" parameter from before? If we want to start recording, another condition is needed. Go ahead and add that node to check if "USER.START_RECORDING" is equal to "true" and name the condition "Start Recording" and the node "Check Recording."
 Condition node: Start Recording
It is best to announce that the call is recorded to avoid legal issues. We only need two nodes for this. A "speak node" that contains the TTS message: "This call is being recorded"
 Speak node: Announce recording
Add a "Start Recording" node (located under the "Actions" section)
 Start recording node
Connecting the call requires a bit of logic if we want to record. If we use the "Call Routing" node, the call will be forwarded, ending the recording. Still, add the "Call routing" node for when we don't want to record and "NCCO." You need to add your phone number for call routing, but for NCCO, we need to conference you. NCCO uses JSON to control what happens in the call. You can see all the options here. For the Honeypot, add the following:
{
  "action": "connect",
  // You can get this number from your Vonage dashboard
  "from": "<vonage phone number>",
  "endpoint": [
    {
      "type": "phone",
      "number": "<your personal phone number>"
    }
  ]
} NCCO Node
Now that all the nodes are set up, we define our paths, which is pretty straightforward. Just click on the open circles on each node and drag to the next node. Let's break down how the paths should flow:
Check caller:
2XX goes to "Check Recording"
Failed, and 404 goes to "Challenge caller."
Challenge caller:
The option goes to "Check DTMF."
No Input and Missed go to an "End call" node
Check DTMF:
The caller pressed 42 to "Check Recording."
Default loops back to "Challenge Caller."
Check Recording:
Start recording to "Announce Recording"
Default to "Forward to Me"
Say the recording goes to Start Recording, then "Conference Me in," then Exit Flow
Forward to me:
your number goes to Exit Flow
Failed goes to another End-call node
It should look like this after all is said and done:
 Agent builder workflow
The flow for our agent is ready to go. In the left-hand nav, click on the Lightning bolt for" events" and select "Inbound call." When that loads, return to nodes and add a "Flow" node. Select the flow we created. All we need to do is click publish, assign a Vonage phone number, and the agent is ready. Now, any calls that come in must go through this Honeypot.
If you have questions or feedback, join us on the Vonage Developer Slack or send me a Post on Mastodon, and I will get back to you. Thanks again for reading, and I will catch you on the next one!
Share:
Long ago, in the dark ages before Google and StackOverflow, Chuck learned how to program. Those were the times when all you had to go on was the documentation or the source code itself. From humble beginnings as a Jr Full Stack developer, Chuck grew into the developer he is today, building out the tools that empower fellow developers to create amazing products. When he is not forging new tools, you can find him climbing up a mountain or on his bike.