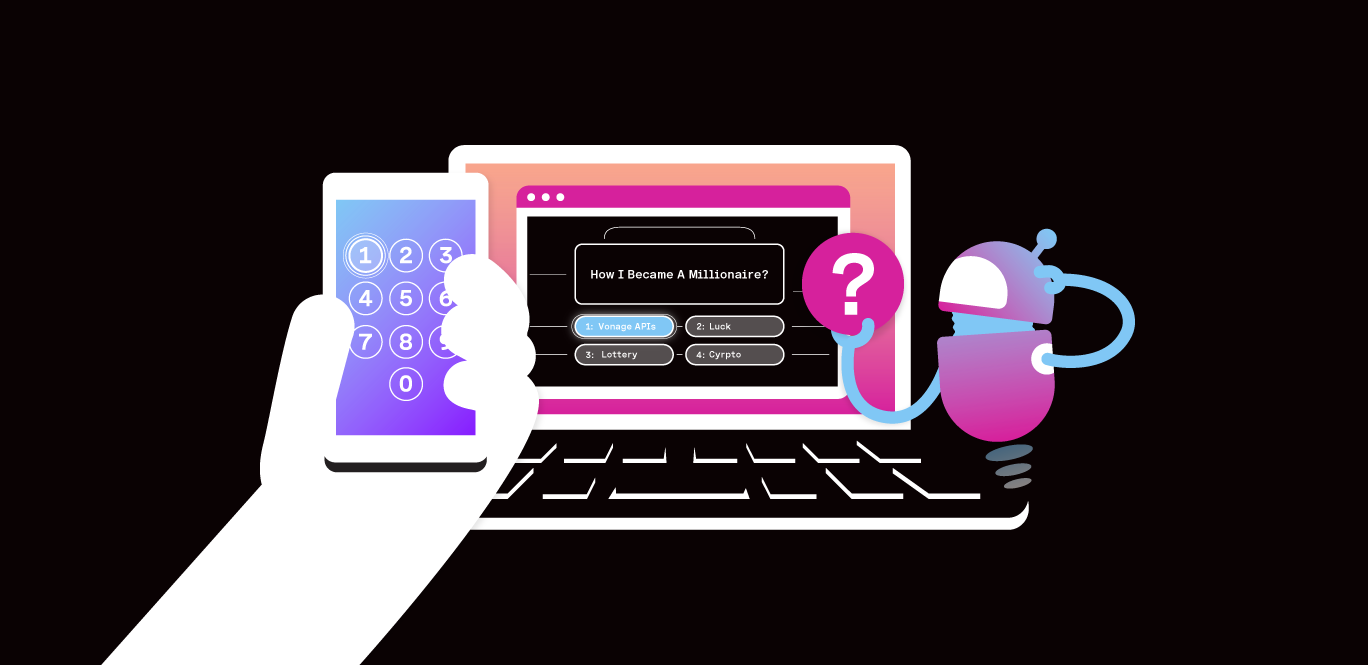
Video communication has evolved rapidly over recent years, and there are many features these days for customizing the video calling experience for users. Many features focus on manipulating the video feed, such as background replacement or background blur. The audio component of a video call shouldn't be neglected though. The ability to work with audio feeds opens up a ton of possibilities for enhancing the overall user experience. If you're using Vonage's video API, then the Audio Connector feature is designed exactly for this purpose!
Audio Connector is a feature of the Vonage Video API that lets you send raw audio streams from a Vonage Video session, via your own WebSocket server, to external services for further processing.
There are a few ways in which this feature can be used:
Send a single audio stream to a WebSocket URL
Send multiple audio streams, each to a separate WebSocket URL
Send multiple, mixed audio streams to a single WebSocket URL
 Overview Diagram of Audio Connector
There are many potential applications and use cases for the Audio Connector feature. For example, processing audio streams to create live captioning, live or offline transcriptions, or translations of the audio could help improve accessibility in a record-keeping context. Scanning for specific words in an audio stream could be used for content moderation or search and index applications. Audio streams can also be used in media intelligence applications, such as creating a textual summary of a call or meeting. Another application uses an audio stream for sentiment analysis of a conversation. These are just a few examples of the many available possibilities via this feature.
Adding Audio Connector functionality to your Vonage Video applications requires the following components:
A websocket, with a publicly accessible websocket URI
An external service to process the audio in some way
The Vonage Video /connect REST endpoint
There are many ways in which you could set up components 1 and 2, and how you decide to do this is really up to you. Later in this article, we’ll walk through of a sample application that uses Koa WebSocket for the WebSocket component, and Symbl.ai for the audio processing component.
With regards to component 3, the Vonage Video /connect REST endpoint, detailed documentation is available in our REST API reference and Developer Guide. In brief though, an HTTP POST request to the endpoint will start streaming the audio from the specified Vonage Video session to the designated WebSocket URI. The request body requires certain information to be included, such as the sessionId for the Video Session from which the audio will be streamed, a valid token for that session, and the URI for the WebSocket that the audio is to be streamed to. There are also some optional properties, including a streams array that allows you to specify individual audio streams to be streamed to the WebSocket; we’ll look at this property in more detail as part of the sample application walkthrough.
On the Vonage Video side of things, that’s pretty much it. The audio from the session is streamed to the WebSocket. There are then endless possibilities for what you do with those audio streams.
Let’s look at one example of what you can do!
In this demo application, we implement a transcription feature for video calling using Symbl.ai’s Streaming API. You can check out (and clone) the full demo app on our Vonage Community GitHub org. In this post, we’ll walk through some of the key features and components of the app.
Note: this is a high-level walkthrough of some of the key elements of the application rather than an in-depth tutorial. Also, it assumes some knowledge of building an Express-style Node application and some familiarity with how the Vonage Video API works.
We first need to join the video session by entering a name and clicking on ‘Join’. The name entered will later be used to identify the speaker for the specific audio stream.
 Join Call screenshot
You can then share the meeting link with other participants. Once all the participants have joined the session, clicking on ‘Start Transcription’ will start the transcription process.
Conduct the video call as normal. When you want to see the call transcription, clicking the ‘Get Transcription’ button will render a view showing the speaker names and transcribed audio.
 Transcription View screenshot
You can watch a video of the application in action below:
The demo is a Node application and uses the Koa Webserver framework. If you’re already familiar with Express.js, then Koa is relatively similar. The app also uses a bunch of Koa middleware for functionality, such as routing, rendering views, serving static assets, etc. One of the middlewares used is Koa WebSocket library. This library enables you to create and use WebSockets as part of your overall Koa application.
Additionally, the application uses the Symbl.ai JavaScript SDK for simplifying interactions with the Symbli.ai streaming API. On the Vonage Video side of things, it uses the Vonage Video OpenTok Node server SDK to handle the server-side API calls, and the Opentok JavaScript Client SDK in our application’s view templates to handle client-side interactions such as publishing and subscribing to video streams.
The index.js file
The index.js file is the entry point for our application.
At the top of the file we require the various dependencies our app needs to function:
require('dotenv').config();

const Koa = require('koa');
const Router = require('@koa/router');
const render = require('koa-ejs');
const path = require('path');
const serve = require('koa-static');
const websockify = require('koa-websocket');
const OpenTok = require("opentok");We then instantiate a new Koa app and enable it for WebSocket connections, before instantiating a new Koa Router that we will use for our WebSocket routes. Finally, we make that router available in all of our application’s routes by adding it as a ws variable on app.context.
const app = new Koa();
const socket = websockify(app);
const ws = new Router();
app.context.ws = ws;Next we require some application routes that we’ve defined in other files:
const basicHttp = require('./routes/basic');
const symblTranscriptionHttp = require('./routes/symbl/transcription');We then initialize our Vonage Video SDK and Symbl.ai SDK objects using credentials we’ve set as environment variables:
const opentok = new OpenTok(process.env.VONAGE_API_KEY, process.env.VONAGE_API_SECRET);
app.context.opentok = opentok;

const symblSdk = require('@symblai/symbl-js').sdk;
app.context.symblSdk = symblSdk;
app.context.transcriptions = [];

symblSdk.init({
  appId: process.env.SYMBL_APP_ID,
  appSecret: process.env.SYMBL_APP_SECRET,
  basePath: 'https://api.symbl.ai'
})
.then(() => console.log('Symbl.ai SDK Initialized.'))
.catch(err => console.error('Error in initialization.', err));In the above code, we also make both SDKs available in all of our application’s routes by adding them to app.context, and we do the same with a transcriptions array, which we’ll later use to store all of our transcription objects.
We then create a new video session by calling the SDK’s createSession method:
opentok.createSession({ mediaMode: "routed" }, function (err, session) {
  if (err) throw err;
    app.context.openTokSession = session;
});An important thing to note here is the mediaMode for the session is set to routed. We can only use the Audio Connector for sessions where the streams are routed via the Vonage Video Media Servers.
We then have some code that sets up the serving of static assets and rendering of view templates (which we won’t detail here) before finally setting the app to use the routes that have been defined in the routes files as well as the WebSocket routes which we will later define as part of the transcription functionality. Finally, we initialize the application.
app.use(basicHttp.routes()).use(basicHttp.allowedMethods());
app.ws.use(ws.routes()).use(ws.allowedMethods());

app.use(symblTranscriptionHttp.routes()).use(symblTranscriptionHttp.allowedMethods());

app.listen(3000, console.log('Listening on port 3000'));Routes
The application’s http routes are defined in a couple of files:
/routes/basic.js/routes/symbl/transcription.js
We won’t explore these in detail since most routes render views. One of the key routes, though is the /transcribe route. When the ‘Start Transcription’ button is clicked in the video call UI, a POST request is sent to this route, invoking the postSymblTranscription controller action, which we’ll look at next.
The postSymblTranscription controller action
This is the key component in managing the transcription functionality. This controller does several things, but the first thing it needs to do is get a list of all the streams being published to the Vonage Video session. It uses the Vonage OpenTok Node SDK’s listStreams streams method. This provides an array of objects, with each object representing a stream which is published to the session.
opentok.listStreams(otSession.sessionId, function(error, streams) {

  // rest of code

});We then iterate through the streams and perform a particular set of actions for each stream. We do this specifically so that we can later identify the speaker for each piece of transcribed audio.
streams.forEach(async stream => {
  let stream_id = stream.id;
  let stream_name = stream.name;
  let symblConnection;
  let socketUriForStream = socketURI + '/' + stream_id;

  // 1. start a Symbl.ai realtime streaming request

  // 2. create a websocket on our application

  // 3. request the Audio Connector to start streaming audio to that websocket

});Start a Symbl.ai realtime streaming request
Here we use the startRealtimeRequest method of the Symbl.ai SDK to start a streaming request:
symblConnection = await symblSdk.startRealtimeRequest({
  id: stream_id,
  speaker: {
		name: stream_name
  },
  insightTypes: \['action_item', 'question'],
  config: {
		meetingTitle: 'My Test Meeting',
		confidenceThreshold: 0.9,
		timezoneOffset: 0, // Offset in minutes from UTC
		languageCode: 'en-GB',
		sampleRateHertz: 16000,
  },
  handlers: {
		onSpeechDetected: (data) => {
	   if (data && data.isFinal) {
	     const {user, punctuated} = data;
	     console.log('Live: ', punctuated.transcript);
	     transcriptions.push({id: user.id, name: user.name, transcription: punctuated.transcript});
	   }
		}
  }
});You can read more about exactly how this works in the Symbl.ai documentation. Some things to note though are:
We set an
id, which is thestream_idwe obtained from the Vonage Video sessionWe define a
speakerobject with anameproperty, the value of which is the name set for the stream from the Vonage Video session.We set some
configoptions. Of particular interest are theconfidenceThresholdandlanguageCode, both of which can help improve the accuracy of your transcriptions.We define an event handler for the
onSpeechDetectedevent. This takes the data returned by the Symbl.ai streaming API and uses that data to populate an object with name and transcription properties which we then push to ourtranscriptionsarray.
Create a websocket on our application
We also need to create individual websocket routes for each of our audio streams:
ws.get('/socket/' + stream_id, ctx => {
  let connection = symblConnection;
  console.log(connection);
  ctx.websocket.on('message', function(message) {
		try {
		   const event = JSON.parse(message);
		   if (event.event === 'websocket:connected') {
		     console.log(event);
		   }
		} catch(err) {
		   if (connection) {
		     connection.sendAudio(message);
		     return;
		   }
		}
  });
});We do this by creating a get route on our Koa Websocket object with the stream_id for that specific audio stream as part of the path for the route. Within the route, we declare a connection variable assigned to the symbl stream object for this specific audio stream, to which we then send the message data received by the websocket using the Symbl.ai SDK’s sendAudio method.
Request the Audio Connector to start streaming audio
The final action we need to carry out is to send a request to the Vonage Video API Audio Connector endpoint to start streaming audio for the specific audio stream to the WebSocket that we’ve defined for that stream:
opentok.websocketConnect(otSession.sessionId, token, socketUriForStream, {streams: \[stream_id]}, function(error, socket) {
  if (error) {
		console.log('Error:', error.message);
	} else {
		console.log('OpenTok Socket websocket connected');
  }
});Two of the arguments to the method are key here:
The
socketUriForStreamis the WebSocket URI we earlier created to receive streaming data for this specific audio stream.The object specifies an array of which
streamswe want to the Audio Connector to stream audio for. Note that the array has only one element: thestream_idfor the specific stream in the current iteration.
The above steps are repeated for each stream in the session so that each is transcribed separately with an identifiable speaker.
The symbl-transcription Route and View
The final thing to mention is the /symbl-transcription route and its equivalent view template. When the ‘Get Transcription’ button is clicked, this sends a GET request to the route, which in turn calls a controller action to render the view.
The controller action sets a transcriptions variable to the array of transcriptions objects, and passes this to the view:
exports.getSymblTranscription = (ctx) => {
    let transcriptions = ctx.transcriptions;
    return ctx.render('symbl-transcription', {
    transcriptions: transcriptions
   }
 );
};In the body of the view, each transcription is rendered as a paragraph, showing the speaker's name and the transcribed text.
<h2>Vonage Video Demo - Audio Connector & Symbl.ai: Transcription</h2>
  <% transcriptions.forEach(transcription => { %>
		<p><strong><%= transcription.name %>:</strong>  <%= transcription.transcription %></p>
  <% }); %>
What would you build with the Vonage Video API Audio Connector? You can use our demo app as a starting point for your own project, or start from scratch if you prefer. If you want to use a language other than JavaScript for your app, the Audio Connector feature is also available in our other Vonage Video Server SDKs.
Happy building! If you have any comments or questions, feel free to reach out to us in our Vonage Developer Slack.