In my previous post, I showed how we can set up the translation of text messages with the Google Translation API. I will continue with that same idea in this post using AWS Translate.
In this post, I show you how to create an inbound Vonage SMS webhook and translate the message into English using the AWS Translate.
In order to get started, you will need the following items setup:
To complete this tutorial, you will need a DT API account. If you don’t have one already, you can sign up today and start building with free credit. Once you have an account, you can find your API Key and API Secret at the top of the DT API Dashboard.

The setup for this example is minimal, and you only need a couple of packages to get going.
aws-sdk- this is the official AWS Translate SDKexpress- web framework to serve the webhookdotenv- a package to load environment variablesbody-parser- middleware for Express to handle the incoming webhook object
Initialize the project and then install the above requirements using npm or yarn.
Once installed, create an index.js and .env file.
Next, open the index.js file and put the following code inside:
'use strict';
require('dotenv').config();

const express = require('express');
const bodyParser = require('body-parser');
const AWS = require("aws-sdk");

const app = express();

app.use(bodyParser.json());
app.use(bodyParser.urlencoded({ extended: true }));

const server = app.listen(3000, () => {
  console.log(`Express server listening on port ${server.address().port} in ${app.settings.env} mode`);
});This will set up the server to run the example.
Webhooks need to be publicly available so that the Vonage service can reach the application when incoming SMS messages are received. You could push your code up to a publicly available server, or you can use ngrok to allow for public traffic to reach your local application.
You can learn more about installing ngrok with this post. After you have everything ready to go you can start ngrok using the following command to create your tunnel.
Make a note of the ngrok address, as you will need that in a later step.
Once you have the initial items set up, you can now create an IAM User with the AWS Translate role attached.
 Create New IAM User
Give the new user a name, and check the box for Programmable Access.
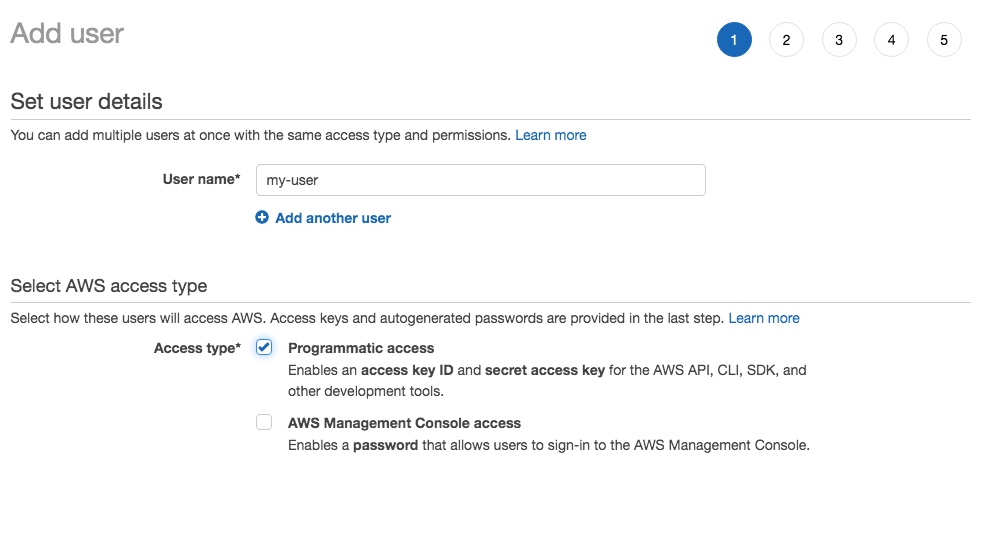 Set User Details
Next the IAM user will require the TranslateFullAccess policy attached. This will give the IAM user access to the Translate functionality.
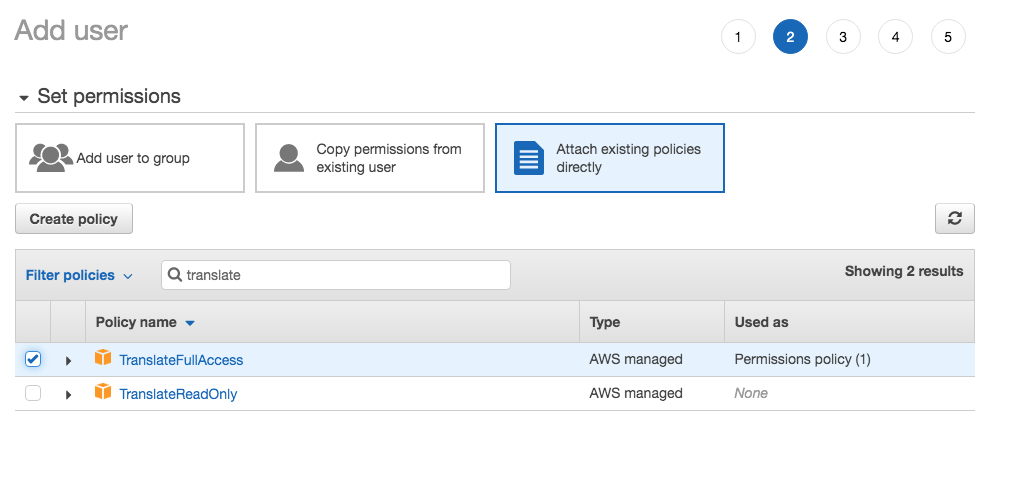 Set User Permissions
Review the user settings, and then click Create.
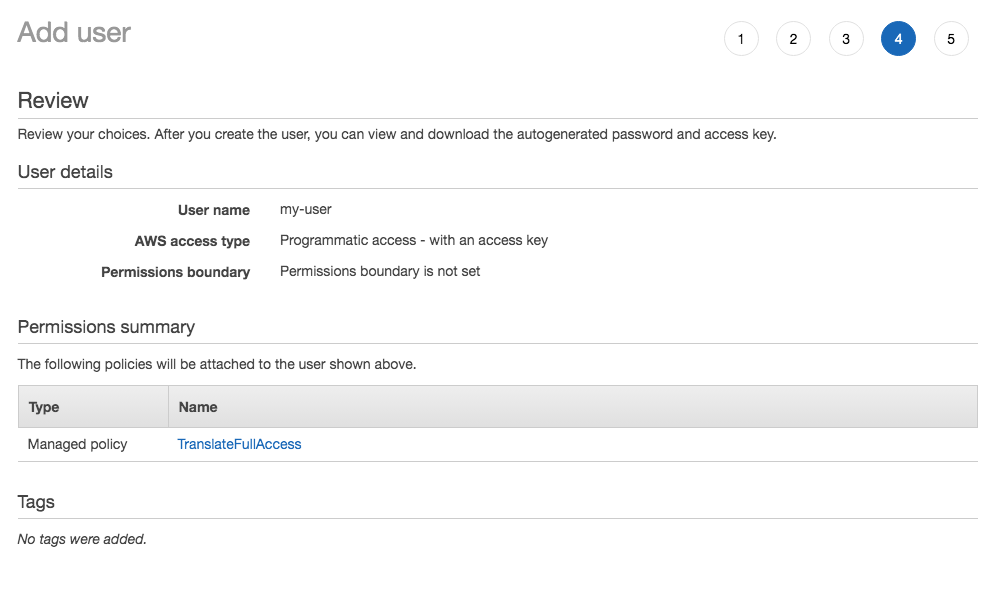 Review and Create User
Once the creation process is complete, get the Access Key ID and Secret Access Key.
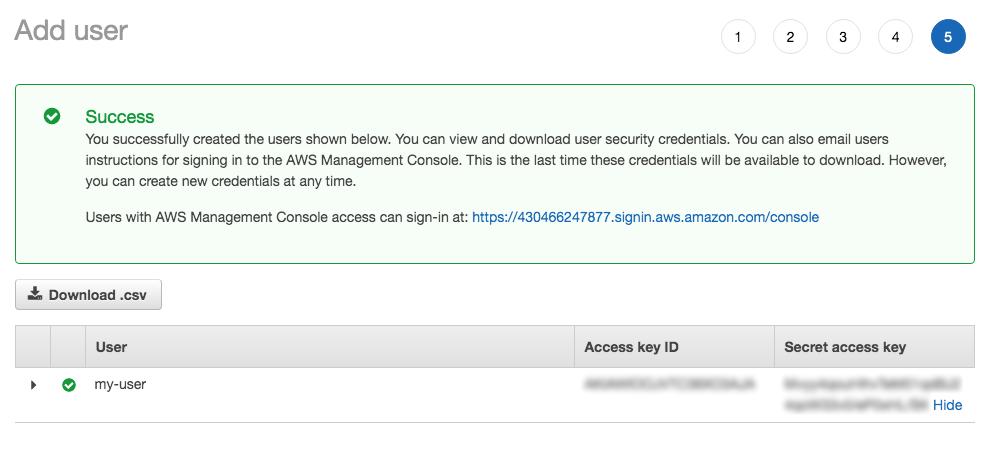 Get the Access Key ID and Secret
Create a new .env file, and copy and paste the following:
AWS_ACCESS_KEY_ID=
AWS_SECRET_ACCESS_KEY=
AWS_REGION=Using the credentials from the IAM user just created, fill in the details in the .env file, save, and continue on to create the Vonage phone number.
This example requires a phone number from vonage to receive inbound messages. We can do this by using the Vonage CLI right from a terminal.
The first step will be to purchase a number (feel free to use a different ISO 3166 alpha-2 country code as needed).
Although the actual route to use in the application isn't set up, you will name it /message. The phone number needs to be linked to this route so inbound messages know where to go. Get the ngrok host name from the previous setup and use it here:
Now we have the Vonage webhook setup as a place for inbound SMS messages to be routed.
All that is left for this tutorial is creating the Express route to handle the incoming data and a couple of small functions to actually perform the translation.
First, we need to build the webhook code. Vonage has a built in feature for setting default SMS behavior. In the settings panel you can change the default HTTP method used. Mine is set to POST-JSON. I would recommend using this setting if possible, however the code used in this example will handle all three options in case you are unable to modify this setting.
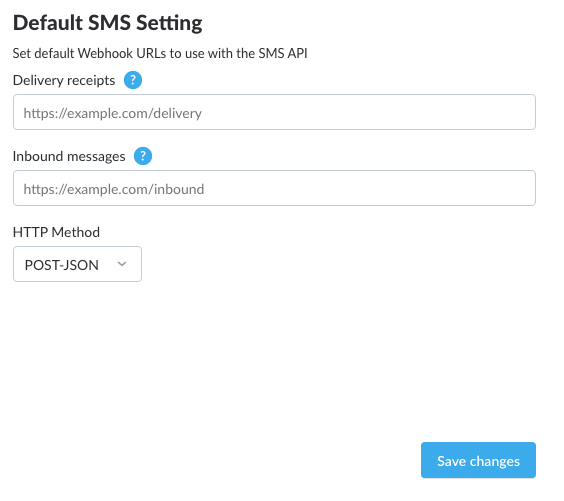 Default Vonage SMS HTTP Method
Open up the index.js file, and at the bottom, paste the following code:
// Reading the inbound SMS messages
const handleRoute = (req, res) => {

  let params = req.body;

  if (req.method === "GET") {
    params = req.query
  }

  if (!params.to || !params.msisdn) {
    res.status(400).send({'error': 'This is not a valid inbound SMS message!'});
  } else {
    translateText(params);
    res.status(200).end();
  }

};The above snippet is the method we will pass into the routes. If the incoming messages webhook is using POST it will use req.body, and it will use req.query for the GET option. As long as the inbound payload is properly set up, the object will be sent along to the translateText method to display the translation.
Now you can add the route and proper HTTP methods to the application.
app.route('/message')
  .get(handleRoute)
  .post(handleRoute)
.all((req, res) => res.status(405).send());The above code will create the GET and POST methods to handle either from the inbound SMS webhook message. If any other method is used, a 405 - Method Not Allowed response will be returned.
The webhook is ready to go and the final piece is the actual translations.
In the previous step we call translateText. This step will create that method.
Using the aws-sdk package is really straight forward. We first instantiate the AWS.Translate class, which will give us the translate.translateText method. This is called within translateText method and uses the text field from the inbound SMS message object. The SourceLanguageCode language is set to auto, and the TargetLanguageCode input is any two-letter code for the language to translate into.
function translateText(params) {
  var translate = new AWS.Translate({region: process.env.AWS_REGION})
  var opts = {
    SourceLanguageCode: 'auto',
    TargetLanguageCode: 'en',
    Text: params.text
  };
  translate.translateText(opts, function(err, data) {
    if (err) {
      console.log('error', err);
    }
    else{
      console.log(`Original Text: ${params.text}`);
      console.dir(`Translation: ${data.TranslatedText}`);
    }
  });
}Now you can test out the functionality by starting the server, and sending a text message to the number you purchased earlier.
The AWS Translate does an amazing job at detecting the incoming language and processing the translation quickly. Have fun and try it out.
The example above is just a small introduction to translation, but should be a good start to get you going. From here you can translate the inbound message, and then translate the outbound message into the correct language as well (future blog post, for sure).
You can find a completed version of this tutorial at https://github.com/nexmo-community/sms-translate-aws-js.
If you want to learn more about the Extend projects we have, you can visit integration to learn more.


Kelly J Andrews is a developer advocate for Nexmo and has been tinkering with computers for over 30 years, using BASIC for the first time at the age of 5.
It wasn't until building his first webpage in 1997, and trying out JavaScript for the first time that he found a true calling. Kelly now fights for JavaScript, testable code, and fast delivery.
You can find him singing karaoke, performing magic, or cheering for the Cubs and Fighting Irish.
